MS Word Character and Paragraph Styles
Note: Most of the links have been removed from this page.
Character and paragraph styles are essential skills for any professional technical writer who uses Microsoft Word or similar word-processing application on the job. This unit describes wny Word character and paragraph styles are so useful, how to modify them, how to create your own, and how to move them into a custom template.
Note: This unit is based on Microsoft Word 365 and was revised in April 2022. Contact admin@mcmassociates.io if you find problems.
Use Word-Supplied Character and Paragraph Styles
If you've never heard of or used styles, take a moment to experiment with the ones that Word supplies:
- Open Word and start a new document.
- Type in half a dozen lines of text in whatever the default font is.
- In Word 2007 and later, to display available styles, click the arrow in the bottom righthand corner of the Styles area. See this illustration of the style panel:
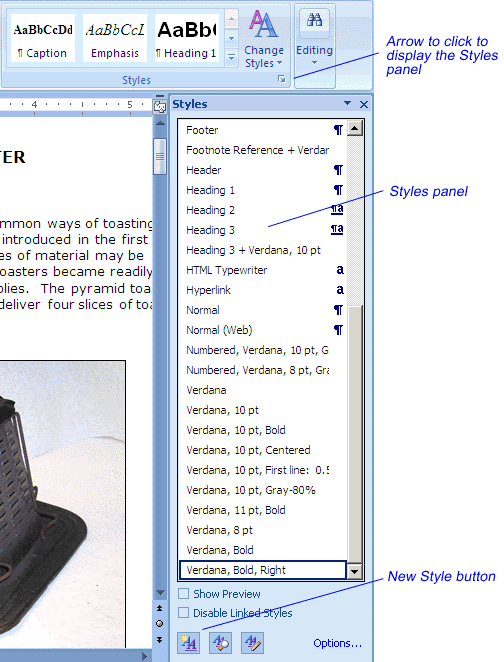
- To apply a paragraph style, put the cursor anywhere on a line of text, click the down arrow in the Style box, scroll to and select Heading 1. Your text should turn to whatever Microsoft has chosen for that style, for example, Arial 16 bold. (Paragraph styles are indicated by a paragraph symbol.)
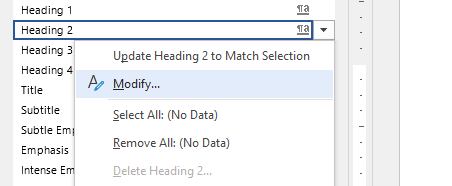
- Character styles are a bit different; you must select a bit of text and then apply. (Character styles are indicated by a lowercase a.) In this screen capture, notice the a to the right of Strong; disregard that Normal is selected:
Modify Word-Supplied Character and Paragraph Styles
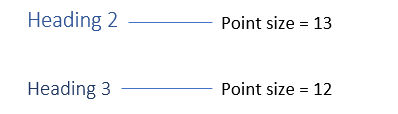
Few people like the settings of Word-supplied character and paragraph styles. The most annoying is the 1 point size difference between heading 1 and heading 2:
Readers should be able to discern which level a headings even if it's on a page by itself. To fix this problem:
- Start a new Word document.
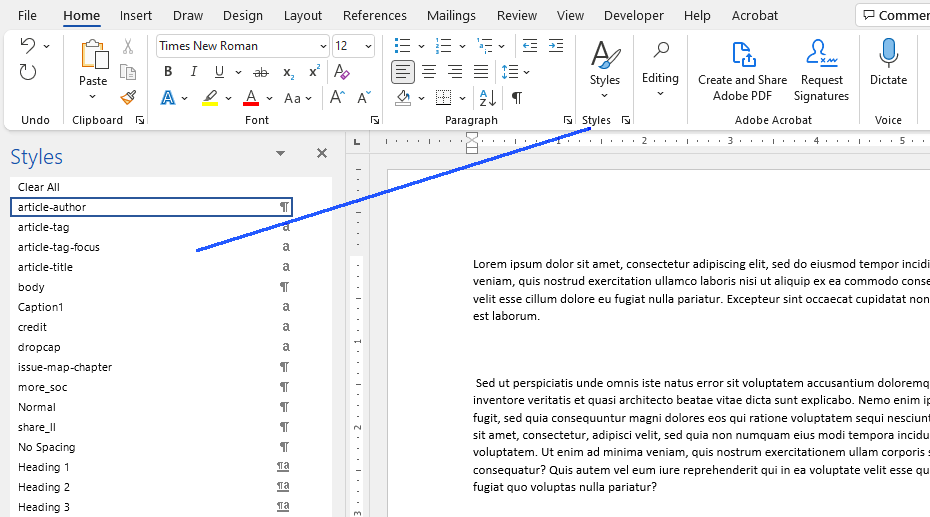
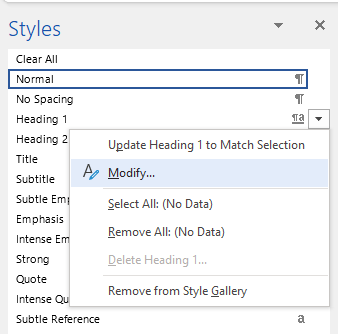
- Click Home then the arrow in the Styles block. This will open the Styles panel:
- Since Heading 1 is 24pt, changing Heading 2 to 18pt should not be a problem. Click the down-pointing triangle to right of Heading 2.
- In the Modify Style dialog, change 13 to 24; then click OK.
Follow this same process to change fonts, indents, margins (space above, below), color, and so on. Remember: out of the box, Word paragraphs are identified by Normal.
To get some practice with modifying existing styles:
- In the Styles panel again, click Heading 1 and select Modify:
- In the dialog shown here, change the heading color to red, and make sure that only in this document is selected
:
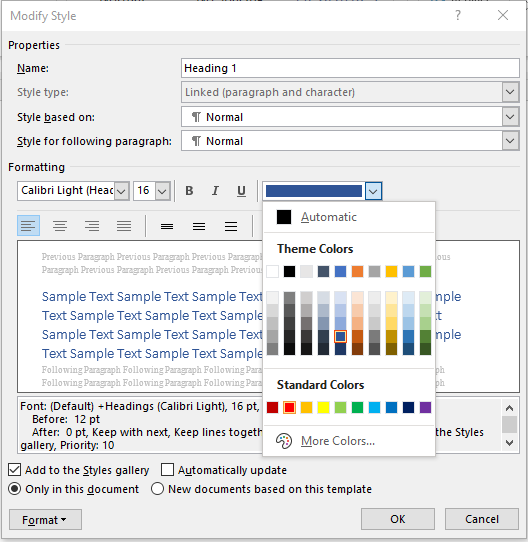
- Type some text and apply the Heading 1 style. Its text you typed should turn to red.
Another way to modify and existing character or paragraph style is to modify an instance of it in body text:
- Open a new Word file (not the one where in the preceding you modified the Heading 2).
- Type some text and apply the Word-supplied Heading 2 to it.
- Right-click on the text of this Heading 2 and select Font.
- In the dialog, select Verdana, bold and 18pts, and clixk OK.
- Now, to make the new Heading 2 style you've judst created, in the List Panel with Heading 2 still selected, click the down-pointing triangle next Heading 2, and in the dialog click Update Heading 2 match seletion:

- Save this file, create other instances of the Heading 2 you just modified, and check to see that those headings have those new settings.
Create Your Own Character and Paragraph Styles
You certainly create character and paragraph styles with different settings and different names such as Red Heading 1 or New Normal. If you want others who will not be using the same Normal.dotx or Normal.dotm as you, select Only in this document.
Another concern is whether you Word document with those cleverly named styles will be converted to other applications such a Adobe FrameMaker or MadCap Flare or two tagging formats such as HTML, DITA, or XML.
To create your personally named character or paragraph style:
- Start a new regular Word document.
- Enter some text and apply the Word-supplied Heading 1 to it.
- Click that down-pointing triangle next to Heading 1 in the Styles Panel, and click Modify:
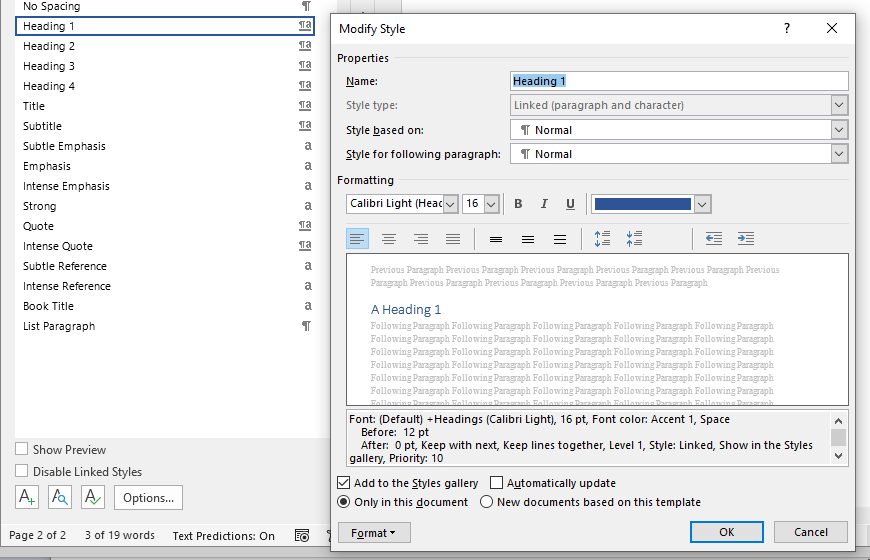
- Change the name of this style, in this case Heading1. Make any other changes you have in mind then click OK.
Creating a newly named character style will be much the starting with that down-pointing triangle next and clicking Modify.
Save Your Character and Paragraph Styles in a Custom Template
Whether you have modified existing Word-supplied styles or created style with new names, the process for saving those style to a custom template is the same. Start with that file containing your new or modified style:
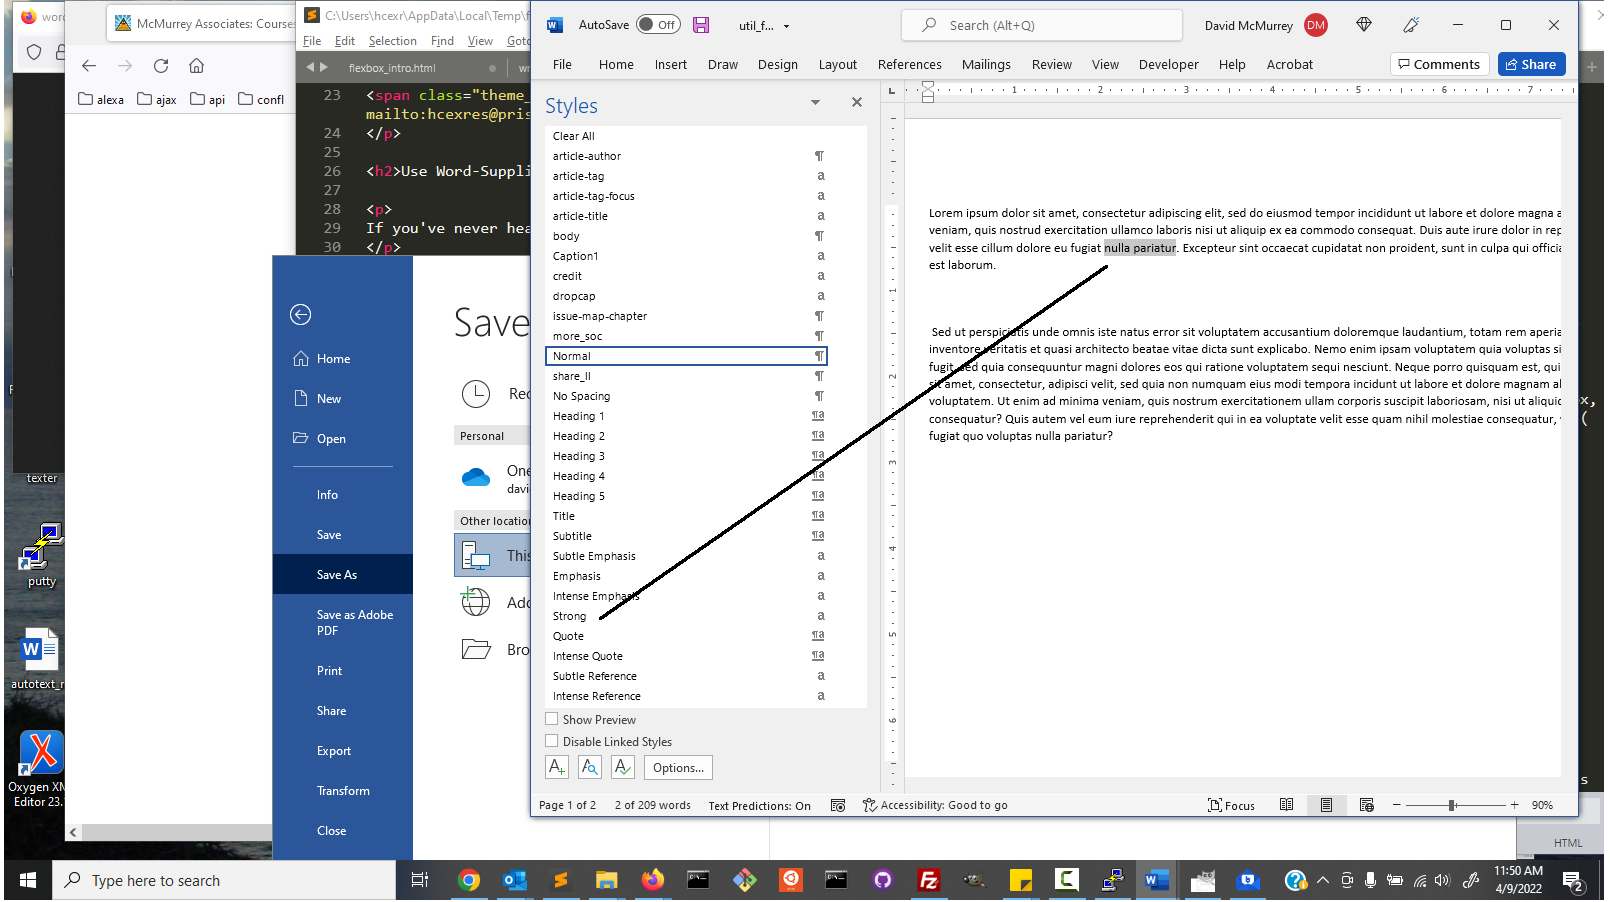
- With your regular Word doc still open, click File > Save As.
- Click This PC. (This assumes Word 365, April 2022.)
- Provide whatever file name want but not extension: for example, just davidm_tenmplate
- Select .dotm, which enables you to save macros as well as other template settings, This ought to resemble what you are looking at
:
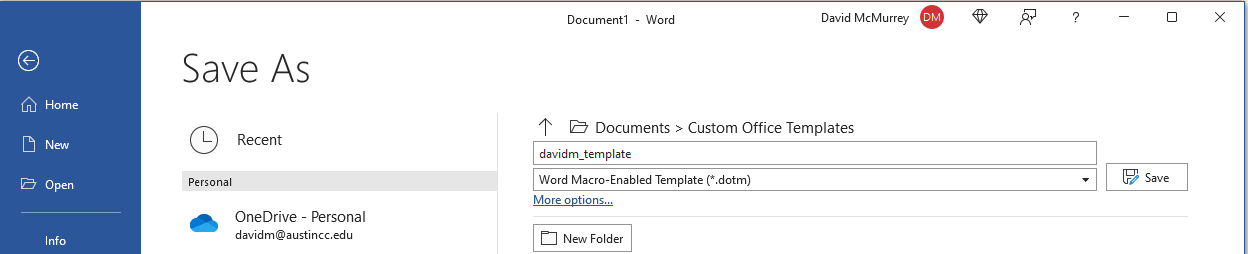
- Now save this template in Custom Office Templates.
Use the Customized Template
Now you are set to use that template:
- Start a new document in Word: File > New.
- Click Personal, and click the template you just created.
- Test to see if that AutoText is there: type the abbreviation then press Enter.
Complete This Unit
Send your .dotm file containing your AutoTexts by e-mail attachment to your instructor.
Return
Return to your bookmarked course main page.
Related Information
Word resources
Display, Use, and Manage Styles in Word
Information and programs provided by admin@mcmassociates.io.