Using CCleaner's Cleaning Tools
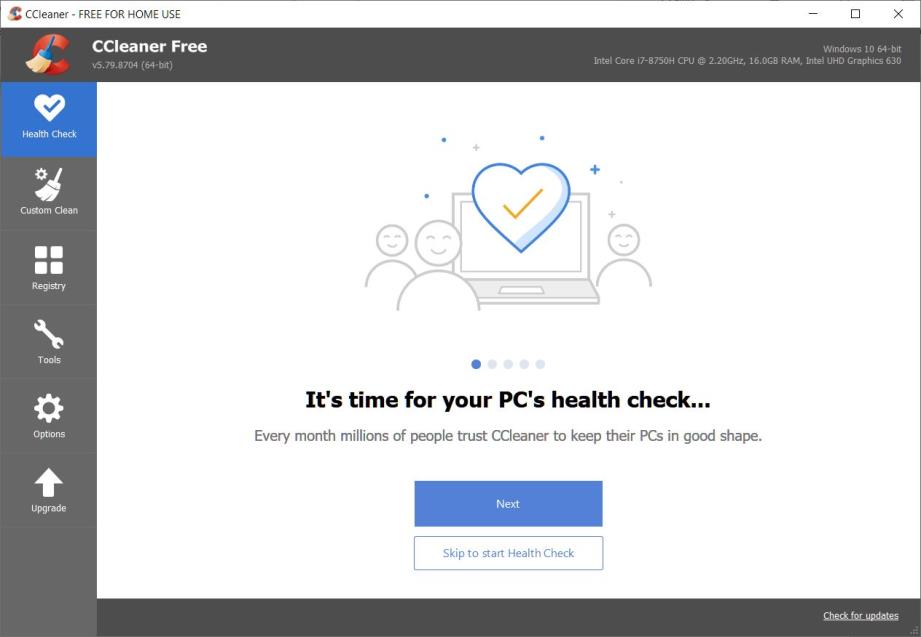
Opening up CCleaner, you will be greeted by the main dashboard, pictured below. In this guide we will skip the Health Check feature for two reasons: first, it's a one-button operation and second, it's only fully accessible as a premium feature.

The CCleaner Dashboard
Using Custom Clean
Custom Clean is the primary tool of CCleaner. It scans your PC for files that are either fragmented, like incomplete downloads, or those in short-term use on your PC, like the contents of your clipboard or temporarily cached images. The buildup of these "junk files" can cause your PC to run slower and takes up otherwise usable space on your hard disk.
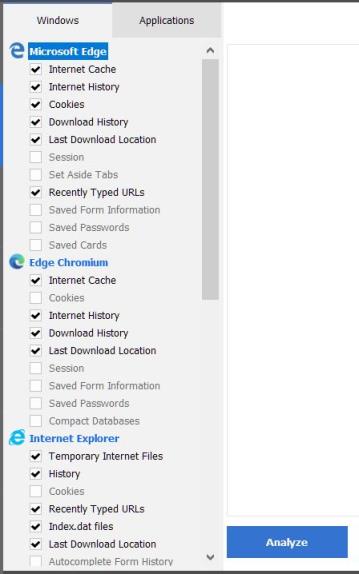
- Click on the Custom Clean box below Health Check on the menu bar at the right of the dashboard. The Custom Clean screen will show a vertical menu bar with tabs labeled Windows and Applications.

Menu bar with Windows tab selected
- Click on the Windows tab if it's not already selected. Here you can un-check boxes next to items you don't want CCleaner to remove in the cleaning process. Click over to the Applications tab and do the same. You may have to scroll down to see all of the applications CCleaner will be cleaning.
Note: Leaving Cookies checked under a browser will remove tracking cookies, but it will also require you to re-log into all your online accounts again in that browser.
Caution: If you use your browser to save passwords, make sure Saved Passwords is not checked under that browser's items. Passwords deleted this way are unrecoverable.
- When you are satisfied with your selections, click on the blue button labeled Analyze at the bottom of the dashboard window. CCleaner will run an analysis of the files to be cleaned and will return a list of what it will remove and ask if you're sure you want to remove all of the items on the list. If you see any type of item on the list you don't want removed, return to step 2.
- If you're okay with everything on list being removed, click the blue button labeled Run Cleaner at the bottom-right of the dashboard window to begin the cleaning process. When the process is complete, CCleaner will show a confirmation message telling you how much space it has cleared up on your computer.
Using Registry Cleaner
Along with temporary files, CCleaner can also remove no-longer-needed items from your Windows registry, like unused file extensions or empty application paths left over after updates. Cleaning the registry will free up more space on your computer and can help prevent future registry errors that could potentially lead to your computer crashing.
- Click on Registry below Custom Clean in the main menu bar. This will bring up the Registry Cleaner screen.
- Click the blue button labeled Scan for Issues at the bottom of the window. The left side of the Registry Cleaner screen will display a list of registry issues. Above this list you'll see a confirmation telling you how many issues were found.
- Click on Review selected Issues to begin the registry cleaning process. You'll see a pop-up asking if you back up the registry before making changes.
- Click Yes. A window will pop up asking where you want to save the backup file. Take note of where it will be saved (the default is your PC's Documents folder) and click Save.
Note: Backing up the registry is a fail-safe in case CCleaner accidentally deletes a necessary registry item. Although this is unlikely, backing up the registry before cleaning is highly recommended.
- Once you've saved your registry backup file, another window will pop up where you can page through each registry issue and advising you that the solution is to delete the registry value. Click Fix All Selected Issues to remove all of the unwanted registry items and close the window. The Registry Cleaner page will show a confirmation message at the top and the list of registry issues will disappear from the where they were previously displayed.
Click below to continue, or use the side navigation to skip around.